
Part of Week 2: Feature Activation — Day 13.
A beautiful photo can make your website feel polished in seconds. A bad one can quietly chase visitors away.
The tricky part?
Most website owners don't realise it's happening. Your photos might look fantastic on your screen while secretly slowing your website down. Or worse, they might be creating copyright problems you never saw coming.
Fortunately, both issues are surprisingly easy to avoid.
Key Takeaways: How to Choose Website Images
- Choose website images that are relevant, high quality, properly licensed, and optimised for fast loading.
- Resize and compress large photos before uploading them. Aim for the smallest practical file size that still looks sharp on desktop and mobile.
- JPEG works well for most photographs, PNG is useful for transparency and graphics, while WebP can provide good image quality at smaller file sizes.
- Use properly licensed stock images or your Website Builder's image library rather than downloading random images from search results.
- Use real photos of your team, products, or business where possible to make your website feel more authentic and trustworthy.
- Add clear, descriptive alt text to important images to improve accessibility and help search engines understand what they show.
Your Week 2 Roadmap: Feature Activation
Getting your site live in Week 1 was step one. Now it’s time to switch on the features that actually make your business money: stores, bookings, payments, and the small details that turn visitors into customers. Here’s what’s ahead:
- Why You’re Putting Off Launching Your Store
- Why Clients Still WhatsApp You Instead of Booking Online
- Why Visitors Skim Past Your “About Us” Section
- Why “Setting Up Payments” Feels Scarier Than It Is
- Why You’re Afraid to Turn On Online Bookings
- Why Your Photos Are Quietly Hurting Your Site (this post)
- Why Your Contact Form Isn’t Getting Submissions
The Problem: Bigger Isn't Better
Modern smartphones take incredible, high quality images. They also produce enormous files.
That holiday snap or product photo might be 8MB before you upload it, which is not what you want when choosing images. Your website doesn't need anything close to that. Large, high resolution images make pages slower to load, especially for visitors browsing on mobile data.
And online, slow websites don't usually get a second chance. Then there's the other problem. Typing "free stock photo" into a search engine doesn't guarantee free images.
Some images can still have copyright, even if they don't have a watermark. It's an easy mistake to make if you don't know what to look out for, but one that's much easier to avoid altogether.
What Size Should Website Images Be?
There's no single perfect image size for every website. A full-width hero image obviously needs more room to stretch its legs than a tiny product thumbnail.
The important thing is avoiding images that are much larger than they'll ever appear on the page.
If an image only displays at around 800 pixels wide, uploading a gigantic 5,000-pixel version won't magically make it five times prettier. It'll mostly give your visitors five times more image to download.
Resize images according to where they'll actually appear and compress them before uploading where necessary. Then check the finished page on both desktop and mobile.
Your goal is simple: the smallest practical file that still looks sharp. Your visitors get the same attractive website without carrying unnecessary megabytes around with them.
The Easy Solution
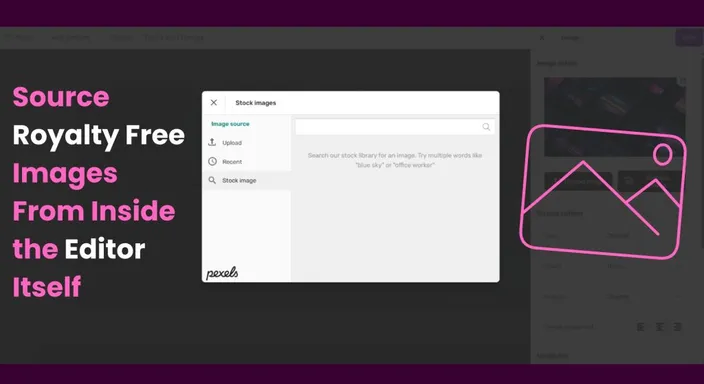
A great option, and likely the simplest, is to use the image library built into your Website Builder.
Most licensed image libraries let you:
- Search by industry or topic
- Use photos cleared for commercial use
- Automatically optimise images for faster loading
That means less worrying about file sizes, copyright, or whether your website will suddenly slow to a crawl.
Which Image Format Is Best for a Website?
JPEG, PNG, WebP... choosing a website image format can start sounding like somebody spilled alphabet soup across your media library.
Fortunately, the basics are straightforward.
JPEG works well for ordinary photographs because it can keep file sizes relatively small. PNG is useful when you need transparency or particularly crisp graphics, but files can be larger. WebP is a modern format that can provide excellent image quality at smaller file sizes. This makes it particularly useful for websites.
You don't need to obsess over formats every time you upload an image, especially if your Website Builder handles optimisation for you.
Just remember the bigger principle: choose a format that gives you good visual quality without unnecessarily large files.
Don't Forget Your Own Photos
Stock images are useful, but your own photos often build more trust. People like seeing your actual team, products, shop or office. Especially on social media. Just remember to optimise them before uploading.
Nobody enjoys seeing a blurry, poor quality image. Although, A slightly smaller image that loads quickly almost always beats a huge image that keeps visitors waiting.
Don't Forget Image SEO and Alt Text
Your website images aren't only there to look pretty. They can also provide useful information to search engines and visitors using screen readers.
That's where image alt text comes in.
Alt text briefly describes what an important image shows. Instead of something wonderfully descriptive like IMG_8472.jpg, you might use alt text such as "fresh sourdough loaves on bakery counter" where that description genuinely reflects the image.
Keep it natural and useful. You don't need to squeeze your target keyword into every photograph like you're trying to hide SEO vegetables in your dinner.
Descriptive file names can help keep your media library organised too.
Good image SEO isn't about gaming search engines. It's about making your images understandable, accessible, and relevant to the page around them.
Quick Tip
If you're using your phone to take website photos, check whether your camera lets you save images in a smaller size. You'll upload faster, your pages will load faster, and most visitors won't notice any difference in quality.
Alternatively, you can always resize or compress any photos you take via reliable online sites. This will usually ensure you're not slogging any photos around 4MB or bigger.
Frequently Asked Questions
Are stock photos safe to use?
Only if they're properly licensed. Using your Website Builder's built-in image library removes the guesswork because the images are cleared for commercial use.
Should I use my own photos instead?
Whenever possible, yes. Real photos often build more trust than generic stock images, especially for products, staff and business premises. Although, that doesn't necessarily mean hire a professional photographer to take photos for your website.
Why do large images slow my website down?
Because visitors need to download every image before the page finishes loading. Smaller, optimised files load much faster while still looking great.
Next in this series: Why Your Contact Form Isn't Getting Submissions →
Need professional images without the copyright worries? Explore HostAfrica's Website Builder and access a built-in library of licensed images that are ready to use on your website.
